dinner, gluten free, risotto, vegan, vegetarian

Spring Risotto with Vegetables

IMG_5735

We all have a dish that we’ve mastered and love to make. Maybe, this dish also happens to be something people love and are easily impressed with. In my case this is risotto.

I know we’ve talked about risotto before, but I love it so much and it’s really become the thing I make for dinner when I don’t want to think about cooking. The good thing about risotto is that you can really add anything to it and make it delicious. Once you master the basics of cooking the rice, the possibilities are endless for what you can make.

My hope is that I’ll inundate you with enough risotto recipes over time that one of them will really spark your interest to try it. Then, as time goes on, you’ll try another and another until it too is your go to dinner option when you want something delicious, easy and comforting.

Since I’m starting to feel springy I decided to throw together a risotto with some green veggies to help get those much needed daily vitamins and antioxidants in the most delicious way possible. This recipe is vegan (without the fried egg) and offers great protein from the edamame even if you choose to forgo the egg option. It’s creamy, comforting and feels decadent without a lot of empty calories.

I encourage you to try this one, but if it’s not this risotto, then hopefully the next, or the one after that 🙂

IMG_5753


Spring Risotto with Asparagus, Zucchini and Edamame

Prep Time : 10 minutes | Cook Time : 40 minutes | Serves 4

Ingredients : 

1 cup arborio rice

1 32 ounce vegetable broth

1/4 cup house white wine

1 small yellow onion

2 cloves garlic

2 medium zucchini

1 large bunch asparagus

1/2 cup frozen shelled edamame

2 eggs (optional)

1 tablespoon vegan margarine

1 tablespoon olive oil

2 tablespoons avocado oil

salt & pepper

IMG_5733

Instructions : 

1. Preheat oven to 350 degrees.

2. Add broth to a medium saucepan and warm over low heat.

3. Wash and clean asparagus and zucchini if desired. Slice zucchini lengthwise twice and chop into medium size pieces shown above. Cut off ends of asparagus and slice stalks into bite size pieces. Toss with avocado oil and salt and pepper and place on baking sheet and place in oven once preheated. Cook for 15 minutes stirring once and check doneness. You want them to be cooked  but still a bit firm since you will add them to the risotto and cook further.

IMG_5739

4. While you’re waiting for the oven to preheat, dice onion and garlic. In a large saucepan, heat olive oil and melt margarine over medium heat. Add garlic and onion and saute to soften and release aroma, approximately 2-3 minutes. Add rice to pan and saute for about 3-4 minutes until rice is a bit toasty. Add wine to pan and cook until absorbed.

IMG_5732

IMG_5736

5. Once all the wine has been absorbed, start adding broth a bit at a time. I honestly never measure this because I always end up using all the broth so just pour some in and use your best judgement. Continue cooking over medium heat, stirring often until liquid is absorbed. Repeat until broth is gone.

6. When vegetables are done, remove from oven and set aside. Remove edamame from freezer and cook according to instructions and set aside.

 IMG_5745

IMG_5743

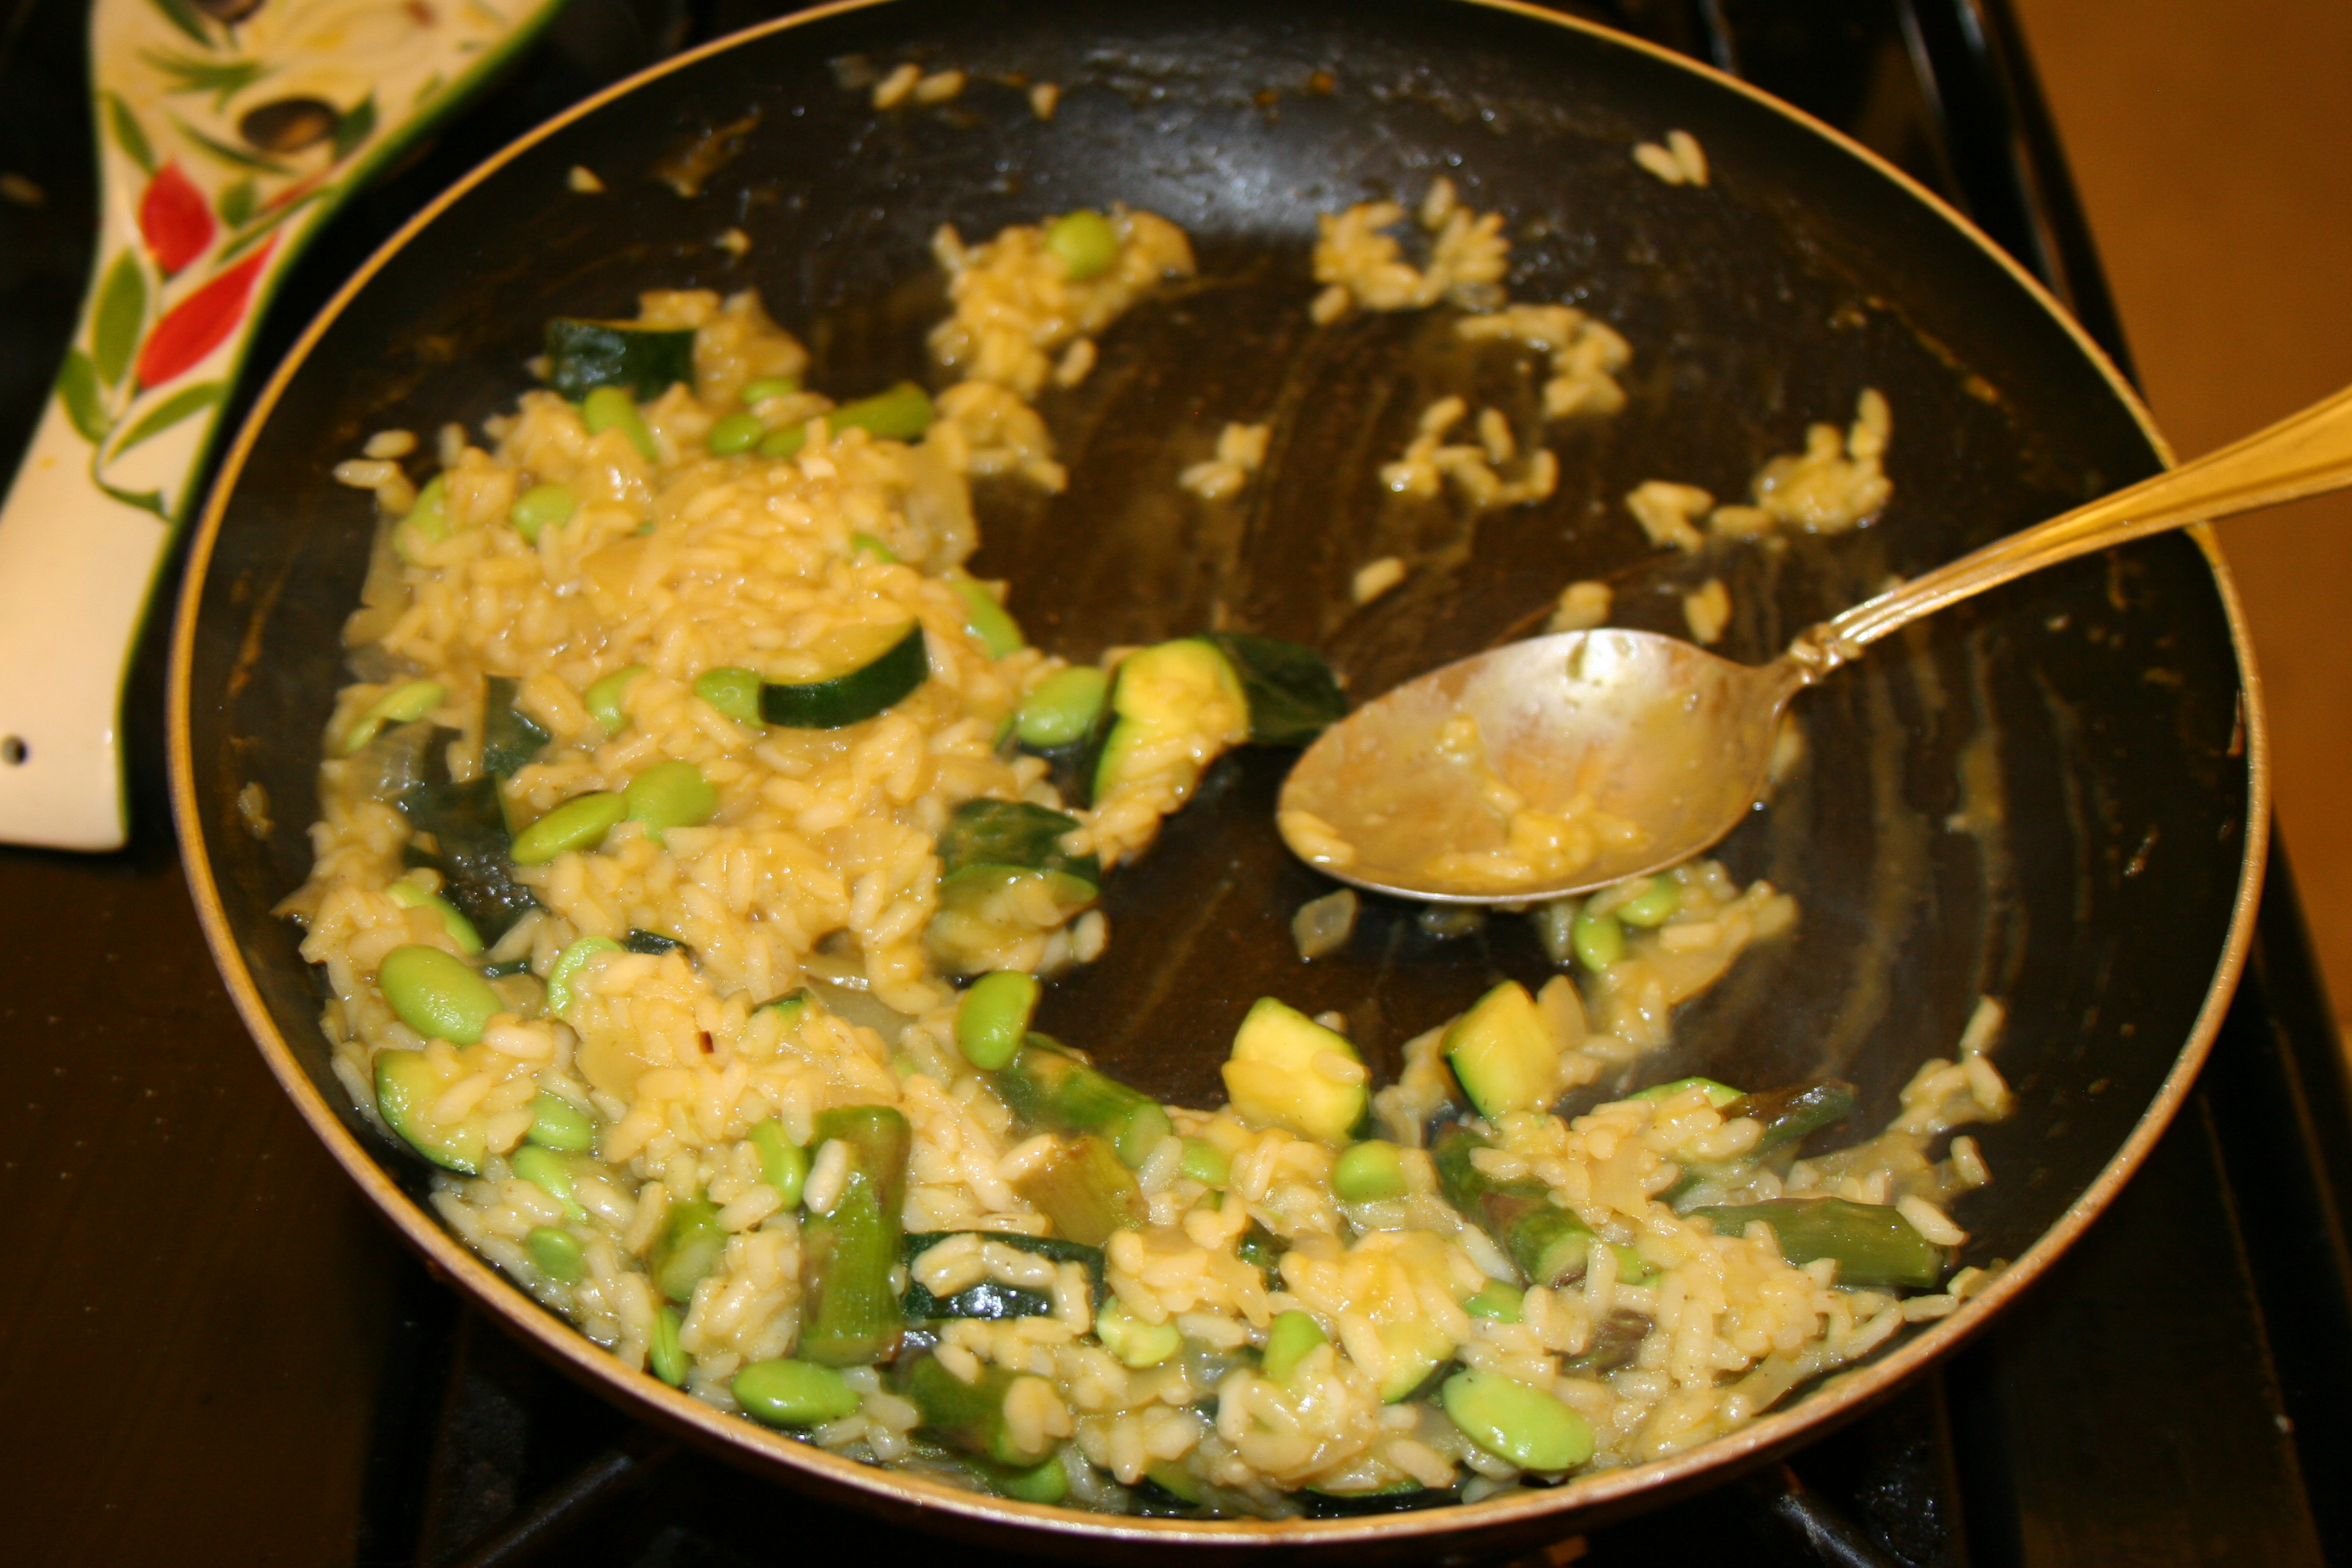
7. Taste risotto to test doneness-best part of the process 😉 and when it’s almost done add your vegetables. A good way to know this is that you have 1/4-1/2 cup of broth left and its a BIT crunchier than you would normally like. We want to it to stay a bit al dente but not fight back.

8. Continue to cook with vegetables and until all broth is gone. Season with salt and pepper to your liking, in my experience this and a good broth with the roasted veggies will add enough flavor but I think nutritional yeast could be good or even garlic powder.

9. When it’s done, scoop it into your bowls and get ready to feast and enjoy! If you want to add a fried egg, see below.

IMG_5750

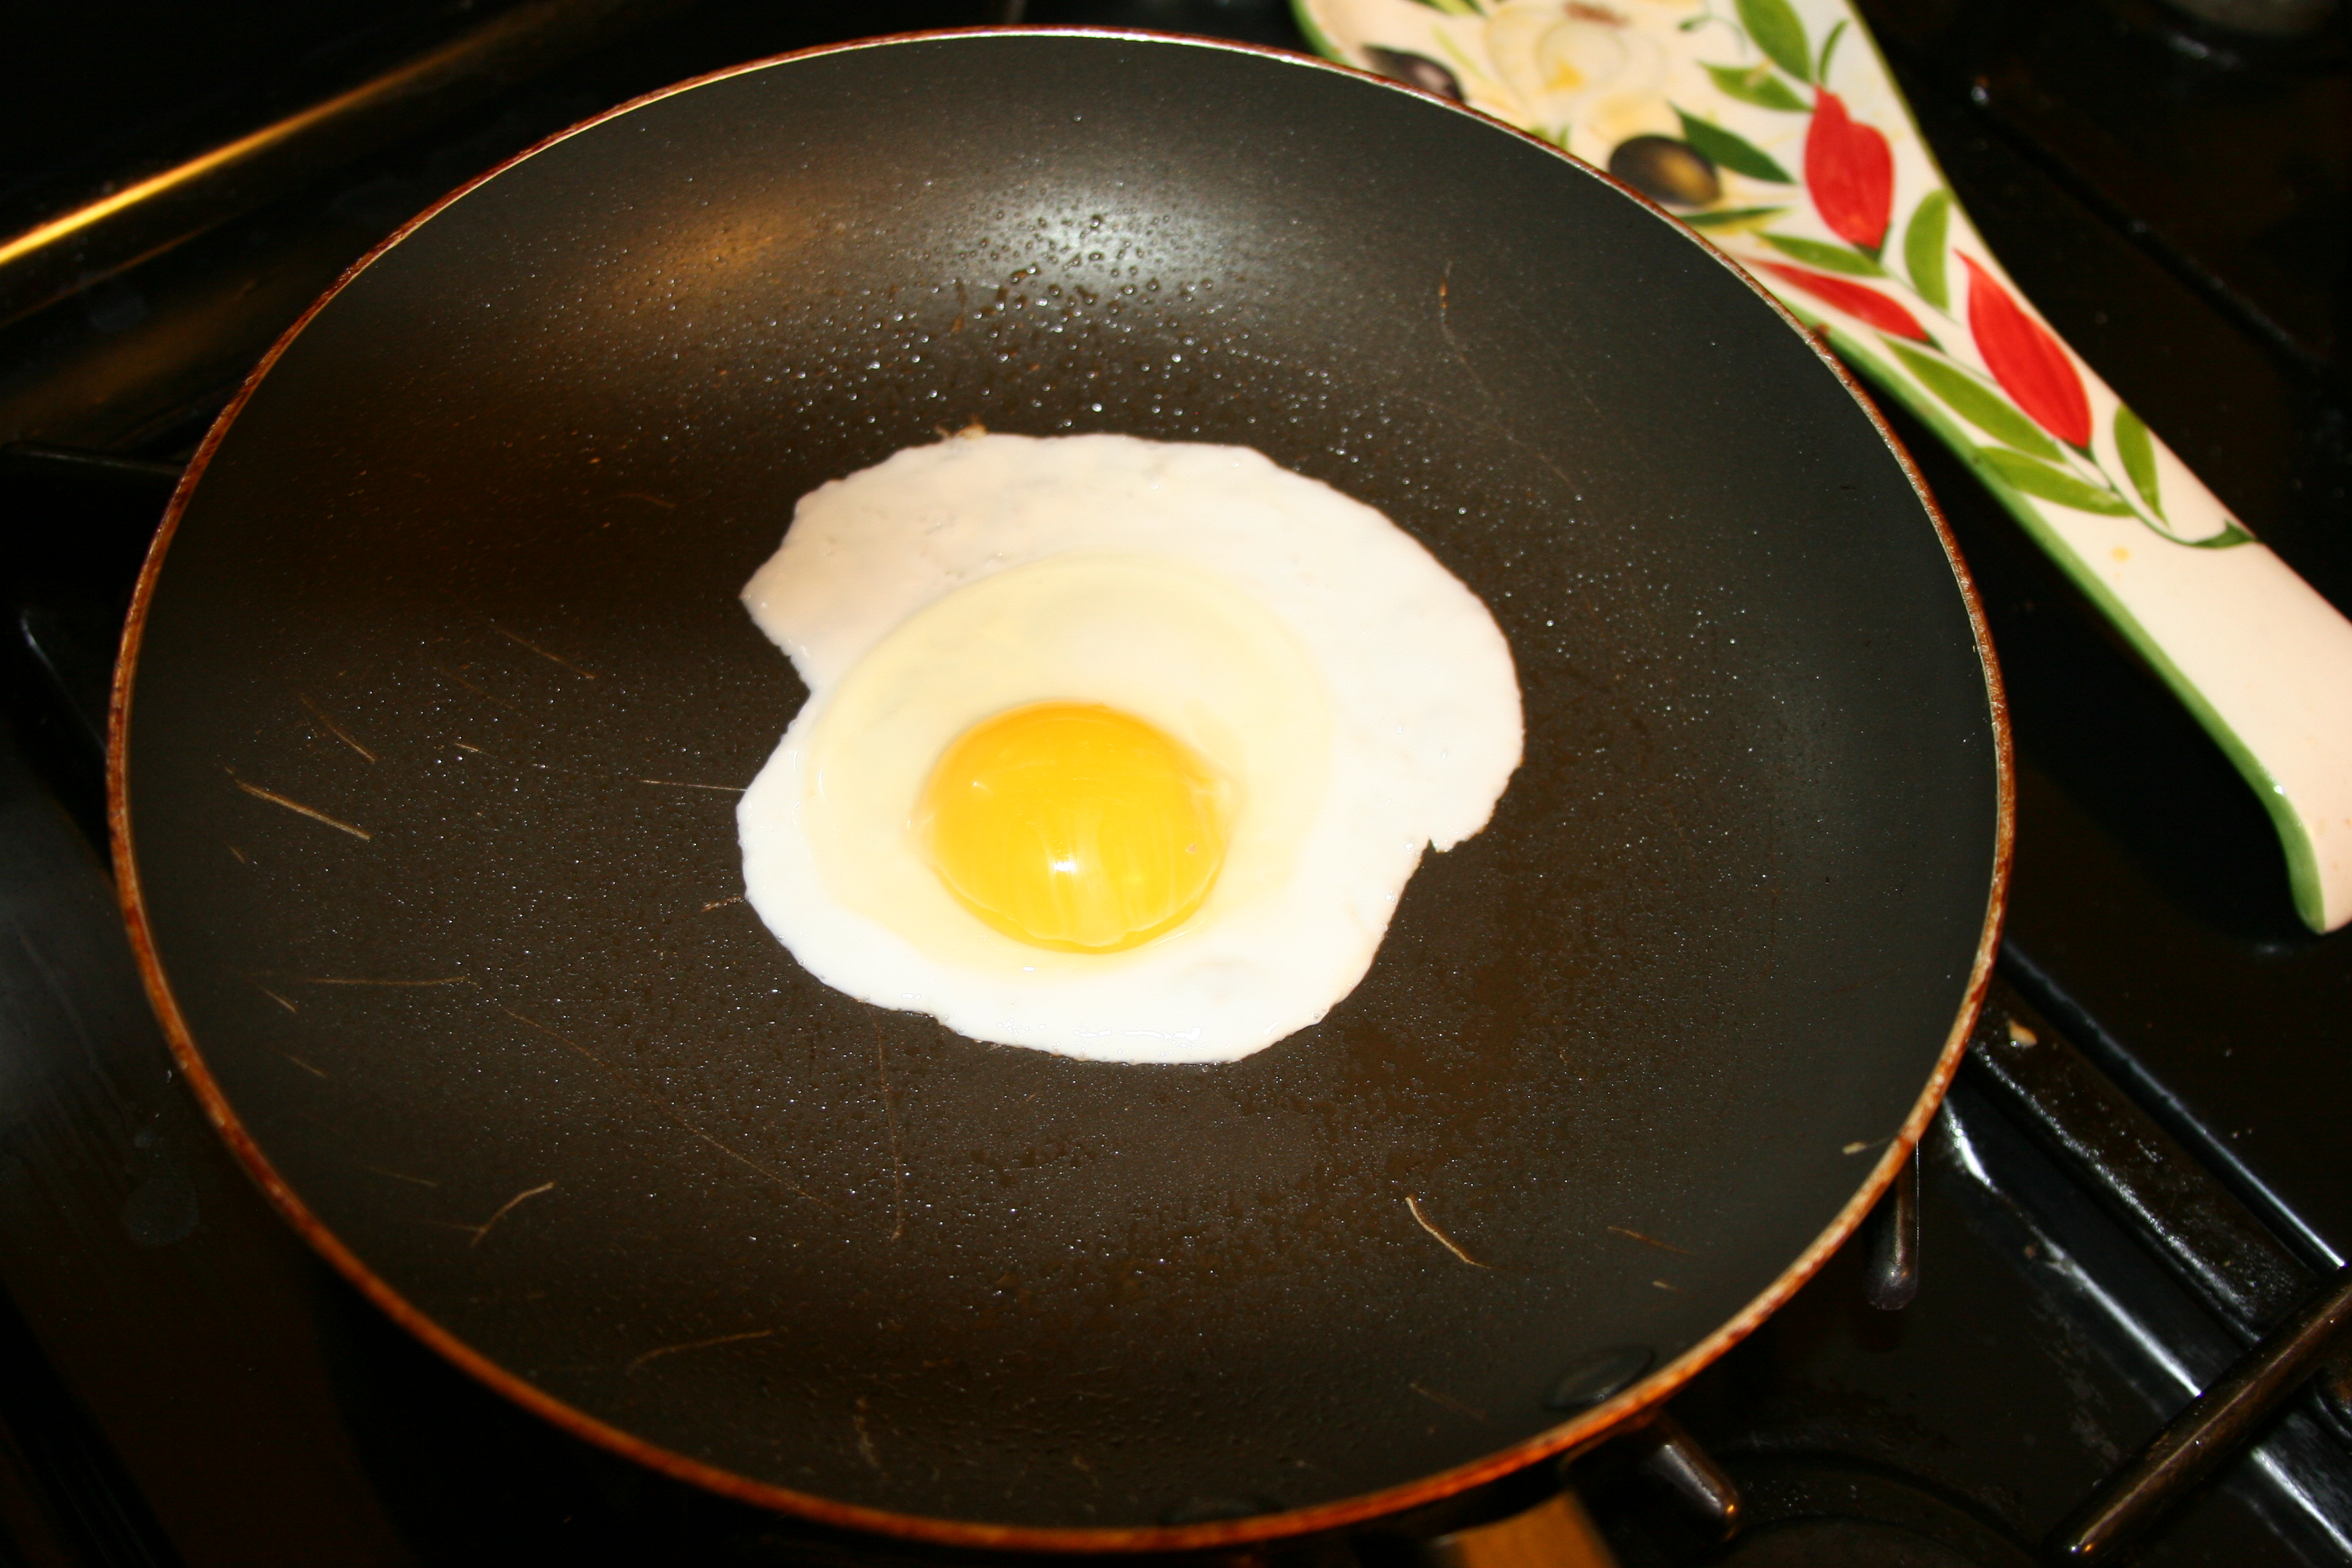
10. You decided you wanted a little something extra did you? No shame in that friend! I’m going to assume you’ve fried an egg before but for the sake of explanation I’ll continue. Get yourself a small skillet, spray with non stick spray and heat over medium heat. Crack your egg into pan and cook just until the white is opaque and flip, about 1-2 minutes. Flip over and cook for about another minute, you don’t want to overcook because you want the yolk to be runny. Something like this.

IMG_5751

11. After you flip that sucker over and it’s done, throw it on your risotto, break open that yolk, stir and get to enjoying!

IMG_5755

IMG_5756

Happy feasting!

dinner, gluten free, weeknight

Spicy Shrimp Tacos

IMG_5722

We love shrimp.  We  buy the massive packages at Costco that should probably take normal people months to go through and devour them in weeks. They are so delicious and easy to cook, they’re a great option to turn to for protein and iron. I tend to put our shrimp with polenta or pasta but last night I wanted to do something different.

Last weekend we were down in California visiting some good friends and they took us to a super delicious restaurant featuring all sorts of yummy vegan options. We ended up sharing a spicy tomato pizza with a creamy cashew sauce that was incredible. I seriously could not tell it wasn’t dairy and it just added this extra level of deliciousness to the pizza.

I’ve been wanting to try getting into non-dairy creamy sauces for a while and thought I’d give it a try with this cashew based sauce. It was intimidating at first, and admittedly you do have to do some groundwork, and incorporate time to soak the cashews for a while but with a bit of planning it comes together super easy. It’s so delicious and full of good fat, protein and magnesium- you won’t even miss the dairy.

Making your own pico de gallo is also crazy easy and only takes a few ingredients. I made my ahead of time so the flavors could marry and develop. This recipes just takes a bit of prep work, let your ingredients sit and then take a few minutes to pull it all together. Great for a weeknight dinner or even for a group of friends.


 IMG_5713   IMG_5701

Spicy Shrimp Tacos with Pico de Gallo and Garlic Cashew Cream Sauce

Prep Time : 2 hours | Cook Time : 10 minutes | Serves 2

Ingredients : 

Pico de Gallo 

4 roma tomatoes

1/2 red onion

2 limes juiced

1 large clove garlic

1 tablespoon chopped cilantro

Salt

Shrimp

20 large shrimp

2 tablespoons olive oil

Salt & Pepper

1 teaspoon Paprika

1 teaspoon Garlic Powder

1 teaspoon Cayenne Powder

Other Ingredients :

Corn Tortillas

Avocado

Instructions :

1. For the pico de gallo, chop all ingredients for salsa and stir together with lime juice in a bowl. Add salt to taste. Let sit in fridge for at least half hour before serving.

IMG_5709

2. Toss the shrimp with a olive oil and coat. Sprinkle with spices, add more or less cayenne depending on your spice preference. I let this sit in the fridge too for a few hours to let the flavors marinate but you can definitely do this right before and cook.

3. When ready to put tacos together, cook shrimp over medium high heat for about 5 minutes until opaque throughout. Assemble tacos with shrimp, pico de gallo, avocado slices and cream sauce.

IMG_5719


Garlic Cashew Cream Sauce

Ingredients :

1 1/2 cups raw cashews

1/2 cup cold water

2 teaspoons apple cider vinegar

2 teaspoons garlic powder

1 teaspoon salt

Instructions :

1. To prep the cashews, soak them in a bowl with water covering at least an inch. You want to let them sit at least a half hour but I let mine sit for a couple hours.

IMG_5714

2. When they are done soaking, throw them in the blender with 1/2 cup water and vinegar and let it blend. It will take a while but you want to let this go until it gets to a smooth consistency.

3. Add salt and garlic powder, I think fresh garlic would also be super great in this or roasted garlic, I just was feeling lazy. In the end you get a super creamy, rich sauce that compliments the freshness of the pico de gallo and the spiciness of the shrimp.

IMG_5717

Try these tacos out on your next taco Tuesday for something a bit different and dairy free. Make the time to prep the stuff ahead of time and then go have yourself a nice glass of wine and enjoy some netflix, when it’s time to eat throw it all together and enjoy! Have a fantastic weekend!

IMG_5721

recipe, snacks

Powerhouse Protein Bars

IMG_5688

I’m not really a fan of super processed foods. A couple years back my friend and I decided to learn how to better make pie and we decided to dedicate a year to pie making, one a month.  It was super fun to get together each month and try new things and obviously eating pie together wasn’t so bad either.

After that we started making all sorts of stuff from scratch and working on perfecting our skills at making everything from cheese to lip balm. What I realized is that just about everything out there from body scrubs to protein bars can really be made from scratch. Sure, some are more intimidating than others and take more time, but really, there are very few things you can’t handle yourself. And the best part-you get to control what goes into it and make it exactly what you want, what’s better than that?

Since I don’t eat meat, and do a lot of running I have to find new ways to get enough protein to keep my muscles happy. The other night while puttering around in the kitchen, I started pulling out things I thought would work together and these protein bars were born. For a first iteration I have to say I’m really happy with them and hope you will be too. These bars are rich and chocolaty with no refined sugar, they give you energy and keep you full. What you get are gluten free vegan bars with a great mix of healthy fat, omegas, antioxidants and balanced protein, all with no crazy weird ingredients! Yay!

IMG_5698


Dame’s Powerhouse Protein Bars

Total Time : 15 minutes | Servings : 12 bars

Ingredients :

1 cup dry quinoa

1 cup oats

1/2 cup chia seeds

2 tablespoons flax meal

1 cup peanut butter (can also use almond)

1/4 cup dark cocoa powder

1/4 cup rice protein (can omit)

4 tablespoons coconut oil

2 tablespoons honey (optional)

Instructions :

1. Preheat oven to 350 degrees. Spread rinsed and dried quinoa and oats on baking sheet. Bake for about 10 minutes to toast grains.

IMG_5689

2. When grains come out of oven, in a saucepan over medium low heat combine peanut butter, cocoa powder, protein powder, coconut oil and honey if you use it.

3. Pour dry oats and quinoa in bowl and add chia seeds and flax meal. When liquid mixture is combined pour on top of dry ingredients and combine.

IMG_5694

4. Pour mixture into a lined 8X8 pan and put into fridge to firm up. I have to admit I was tasting these before they were done 🙂

5. After about 30 minutes remove from fridge and slice into bars.

IMG_5697

IMG_5698

Give these a try, they are fantastic and super easy to pull together.  I kept these in the fridge but they are great to grab in the morning and take to work or keep in your gym bag to refuel after a hard run with.

Enjoy!

recipe

Gluten Free Brownies

IMG_5448

I’m a big fan of the lazy Sunday, though these days my lazy Sundays have taken on a new look the older I get. Often filled with cleaning and trips to the grocery store, they have become more of a prep for the week. Today mine started with a chilly 6.5 mile run through Discovery Park with a great friend, taking in the spectacular view and catching up with good news and nourishing my soul with exercise. After a quick shower and breakfast of, you guessed it, oatmeal, I decided my four legged friend could use some exercise too and drug him to Greenlake for a 3 mile walk. What did all of that earn me? I settled on brownies, and not just any brownies, but rich, chocolaty gluten free brownies.

Recently, my handsome man friend decided to venture into new gluten free territories and doing my best to be supportive (and since I do 99% of the cooking anyway 😉 I decided to go right along with him. It’s been a fun and new challenge moving away from old standbys of a lazy pasta dinner here or weekend pancakes there but more than worth it. It’s pushed me past my comfort zone and forced me to learn new things about baking and cooking that I didn’t know and am forever grateful to have explored. Often gluten free things can be even richer and denser without the flour to fluff things up and I for one, especially when it comes to brownies, like it dense.

While we’re currently past the gluten free period of our lives together (for now anyway) and while man friend is not actively avoiding gluten, I still try to limit its presence in our kitchen as we both tend to feel better without large amounts of it.  I’ve made a fair amount of gluten free cakes but wanted to see if I could get that to translate into a brownie, and I gotta say, not disappointed with the result. Try these out when you have an extra half hour or so and you’ll have something to enjoy on your lazy Sunday, whatever that entails.

Gluten Free Dark Chocolate Brownies

Prep Time: 15 minutes | Cook Time : 25 minutes | Serves : well… that all depends…

1 cup sugar

1 1/4 cup dark chocolate chips

1/2 cup coconut oil

1/2 cup cocoa powder

1/2 oat flour (you can make this yourself by just grinding oats in the blender)

4 eggs

1/2 tsp salt

2 tsp vanilla

IMG_5453            IMG_5450

1.Preheat oven to 350 degrees. Line 8X8 square pan with parchment paper and spray with non stick spray.

2. Melt the coconut oil and 1 cup of the chocolate chips, you can do this on the stove top or in the microwave. If you go the microwave route just make sure you do it in about 30 second intervals and stir in between.

IMG_5458

3. In the meantime, beat the eggs and sugar together in a stand mixer on low, you don’t want them to get frothy, just combined. When chocolate has melted, and cooled, add slowly to eggs and combine. You’ll want to do this slowly so the chocolate doesn’t cook the eggs.

IMG_5460

4. Once egg mixture and chocolate are combined, add cocoa powder, oat flour, salt and vanilla.

5. Pour mixture into prepared pan, top with remaining 1/4 cup chocolate chips. Bake for 25 minutes until knife inserted comes out clean. Let cool before cutting, if you can wait that long 🙂

IMG_5465            IMG_5468

*These could probably be done with almond flour or another gluten free flour but I personally like oats (duh) and oat flour is so easy to make and much cheaper than other specialty gluten free flours.

Hope you enjoy these as much as we do!